USB-C Upgrade – What Not to Do
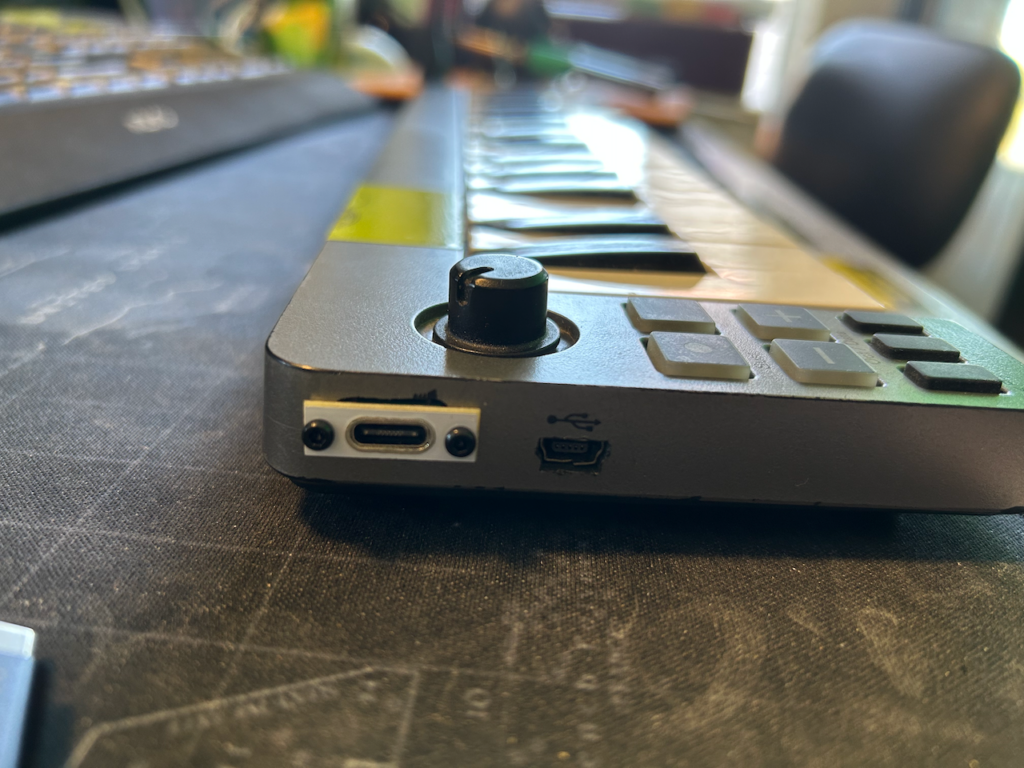
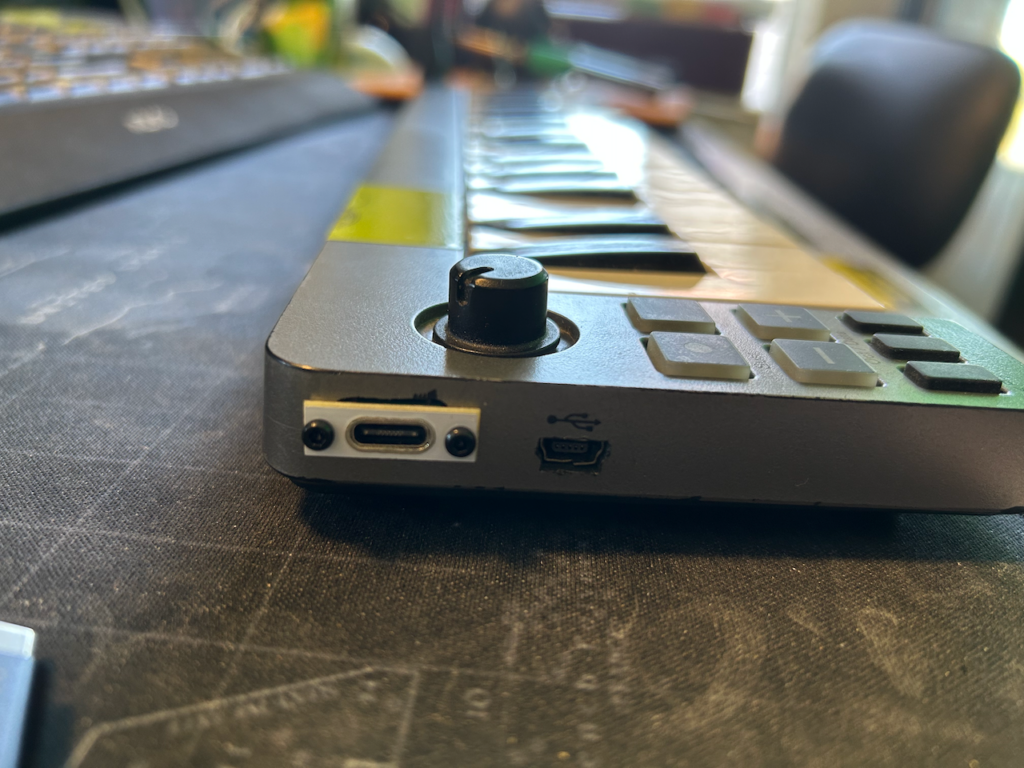
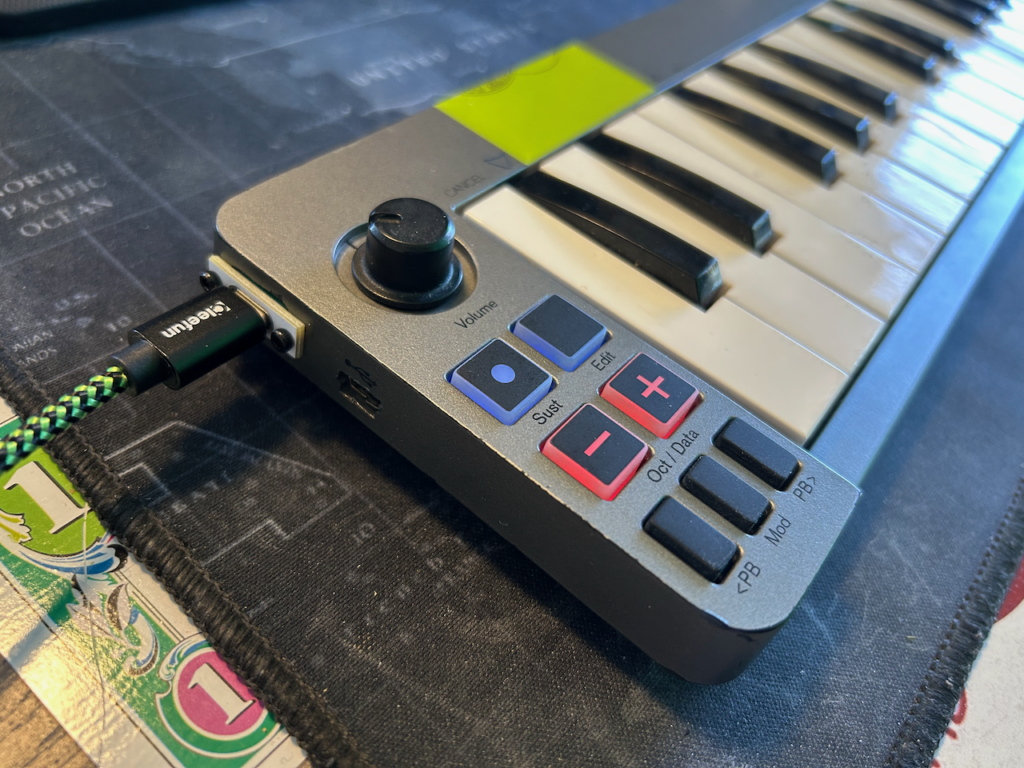
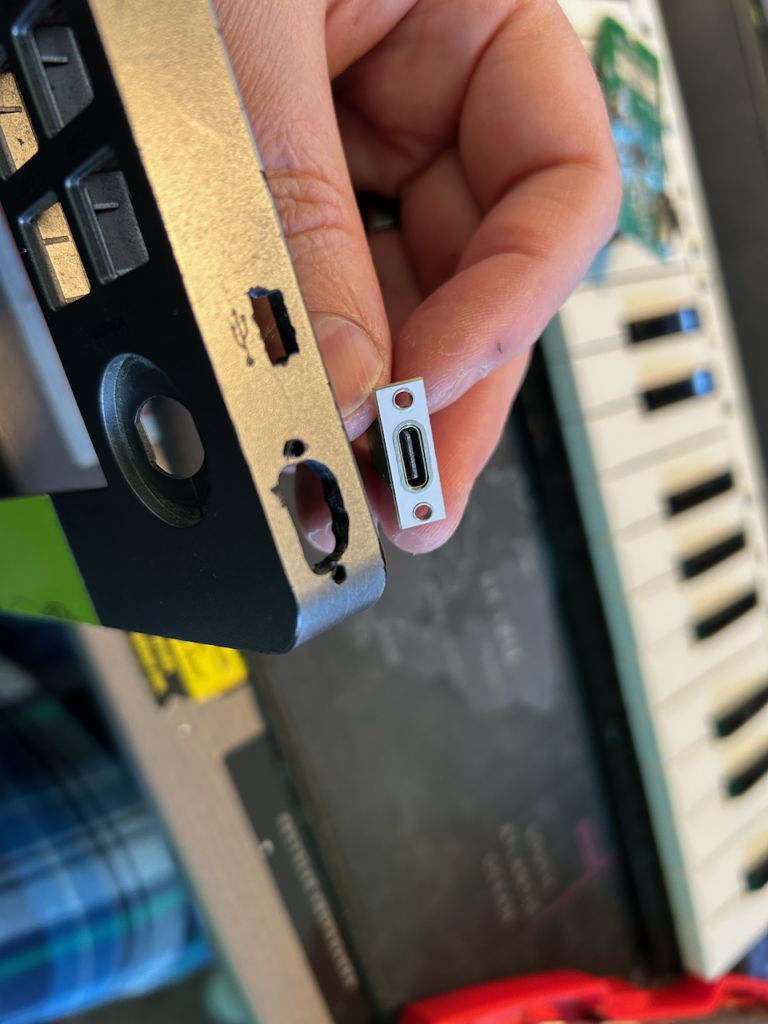
When you add a USB-C jack to old gear, you have to use the right one, or this happens.
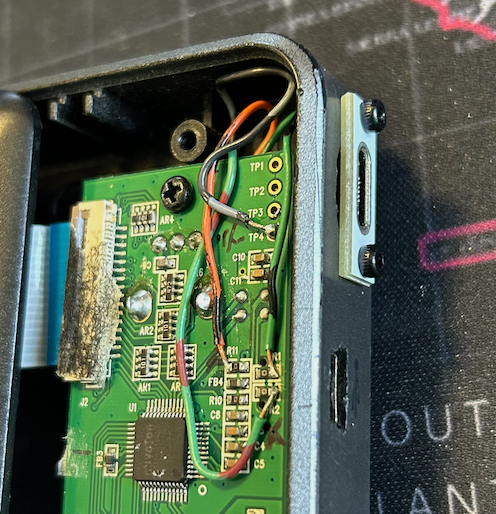
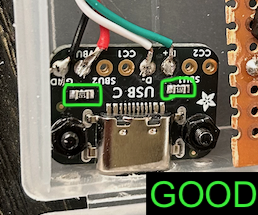
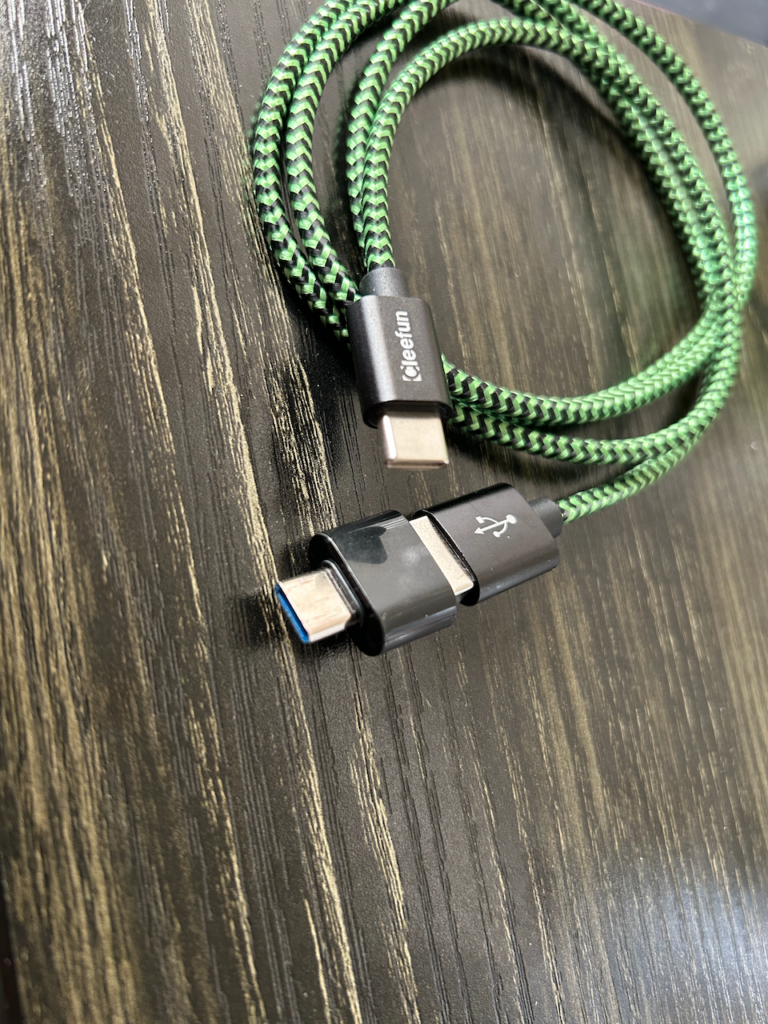
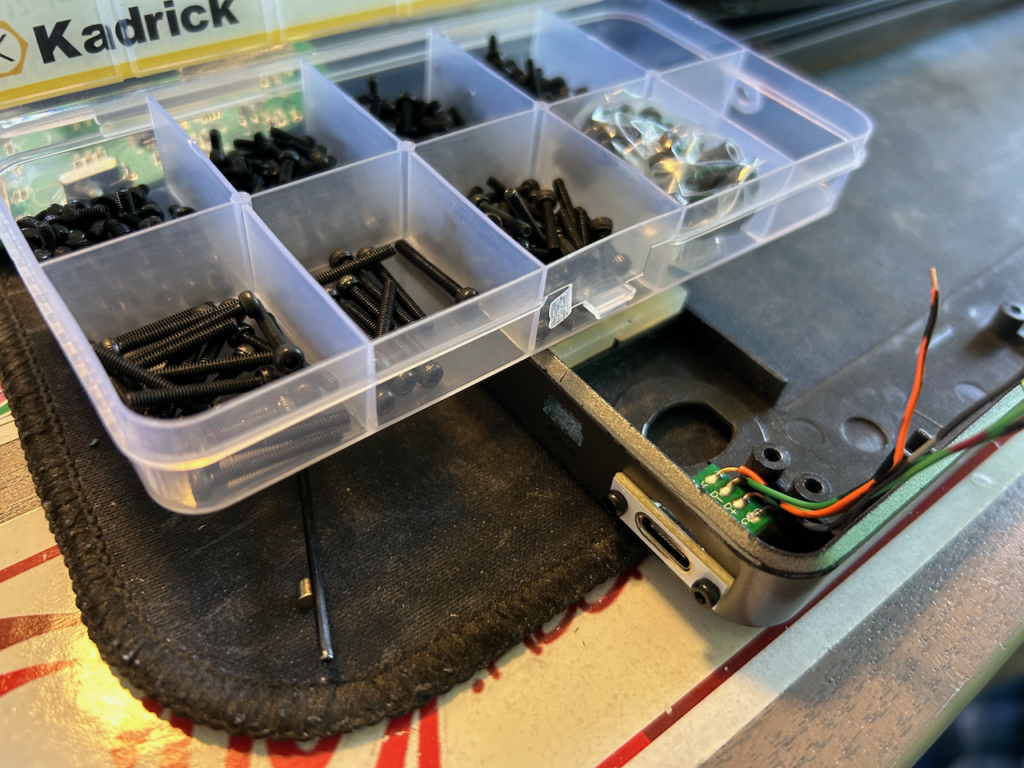
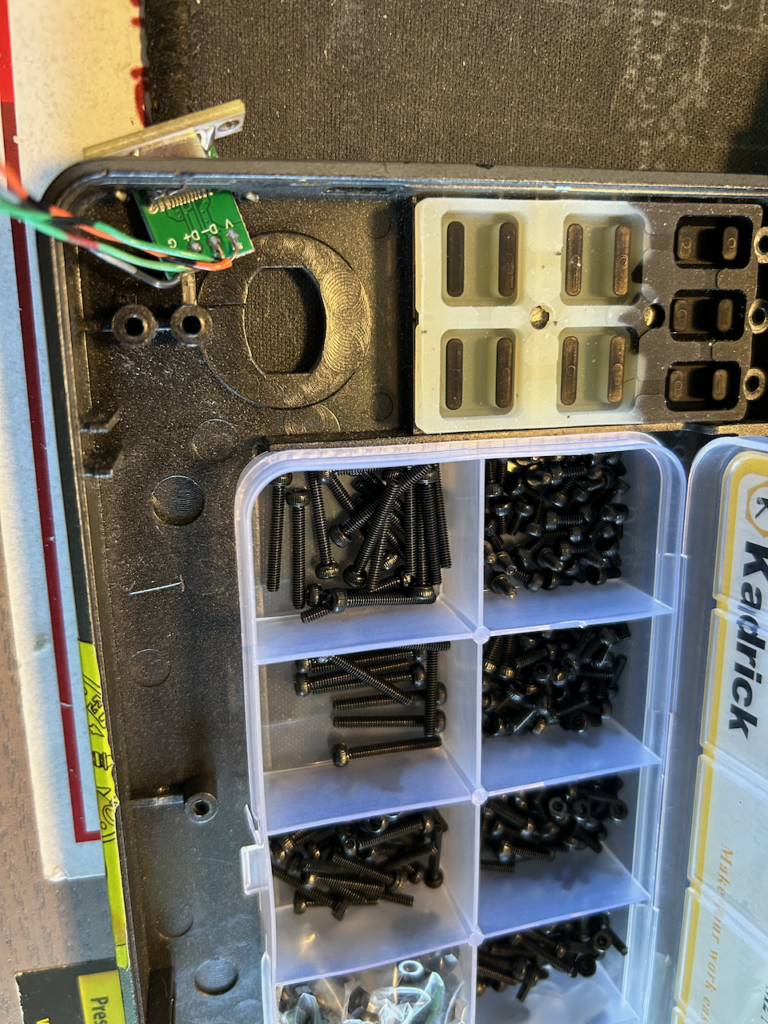
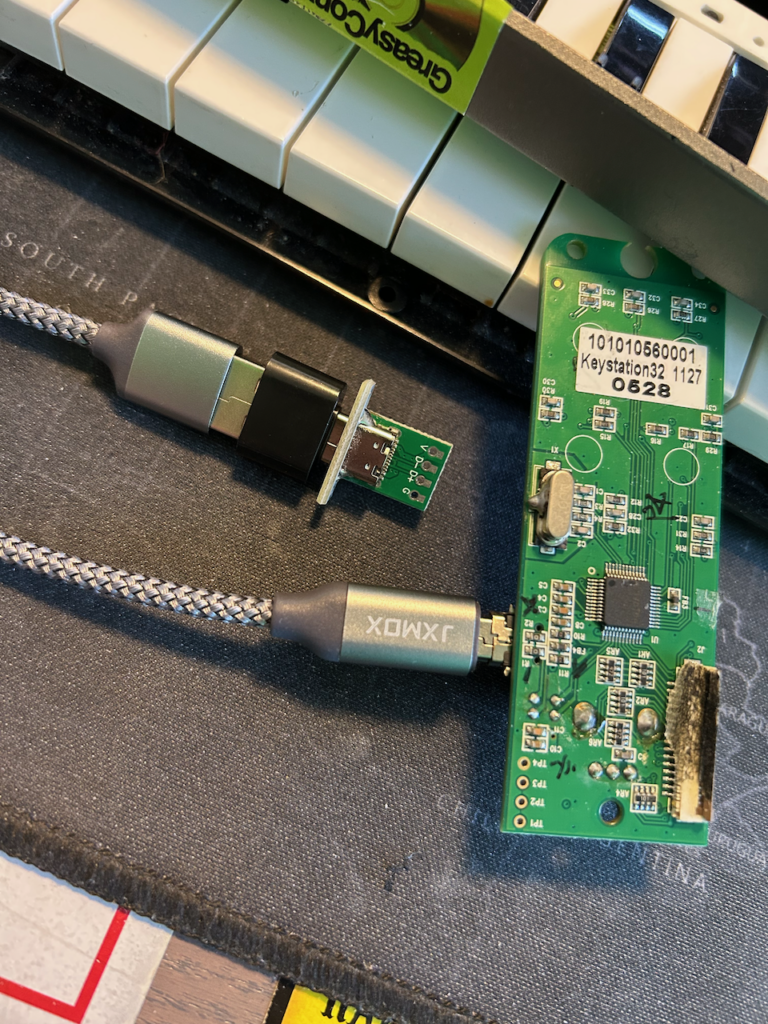
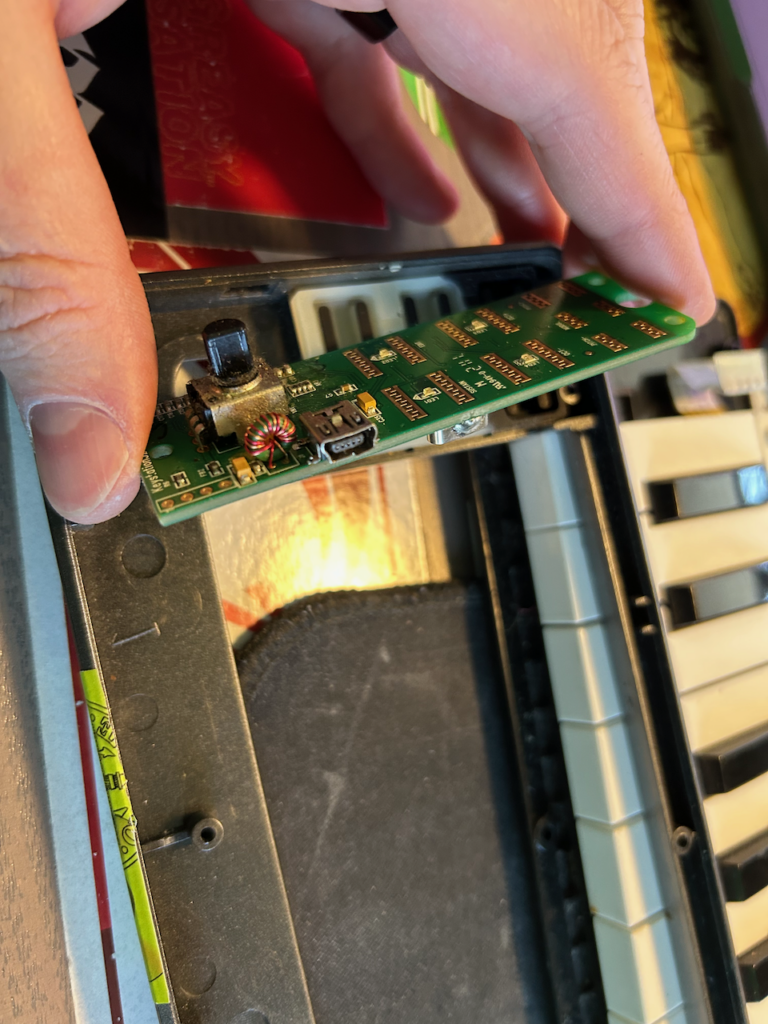
I used a test meter in continuity mode (where it beeps for shorts) to probe for where the data and power pins connect, through an adaptor, using the USB-C jack I was going to install. I labeled the sides of these resistors where the connections were to be made, and connected the new jack to the same points. This worked great when using a USB-C to USB-A cable, but using a C to C able did not. However, a C to A cable, with an A to C adaptor, did work. What gives? Well it turns out the A to C adaptor has two resistors in it which tell the usb C port that a USB2 device is connected. Otherwise it just gives power, and that’s why this darn USB-C jack was sold as a ‘power jack.’ What I should have done is use a better USB-C jack, like the black one from Adafruit pictured below. These have the two resistors, and I used this jack in another project which does not have this problem. You have been warned!
This particular one is less likely to break, due to the way it’s ‘sunken’ into the board. For a peripheral client device like this (not a usb host) it also must be an ‘upstream’ version.
Tips:
- Always make sure the part is hot enough to melt the solder. Do not put hot solder on a cold part, unless you give the part a chance to heat up enough for it to stick. You’ll see when it sticks.
- With tiny parts especially, prep the side of the resistor by heating it up and adding extra fresh solder. Do this to the wire too. Then you can bring them together, and quickly remelt the fresh solder, which contains fresh flux, and the two parts should join quickly. (by parts I mean the wire tip and the side of the resistor.)
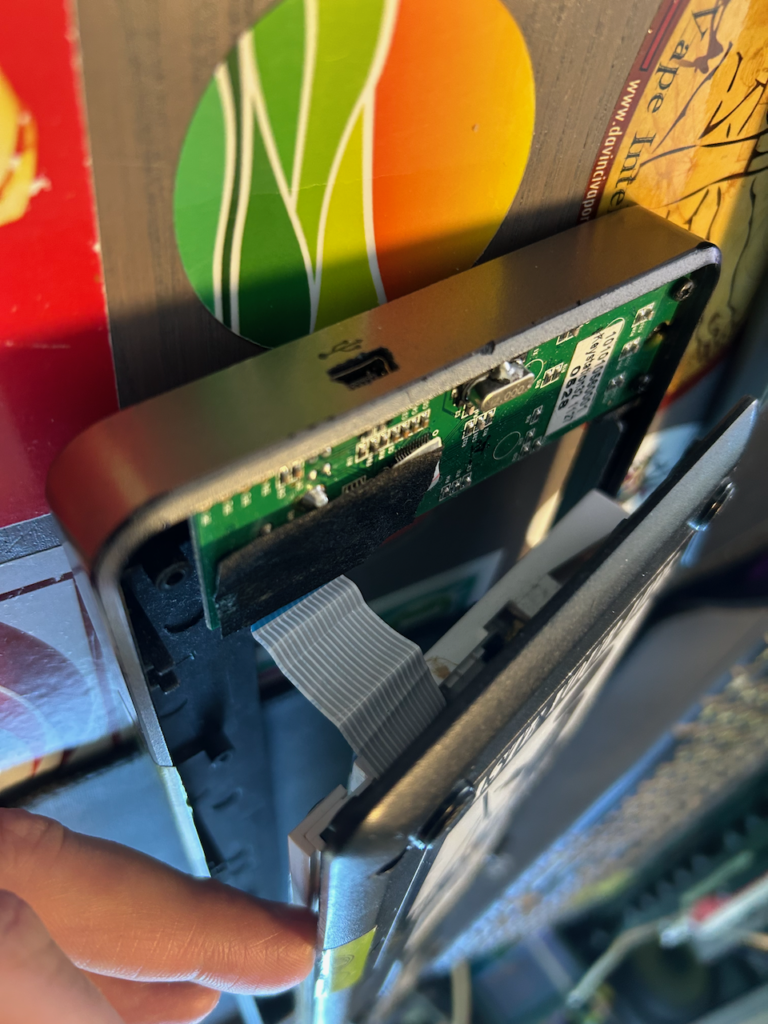
This is my own beat-up keyboard, so I wasn’t as careful as I should have been in cutting the new hole.
Again, for the legend, I used more vintage wire from an old UNIVAC computer.
#midi #synth #midigear #diymidi #midicontroller #diymusic #musicgear #repair #piano #musicproducer


